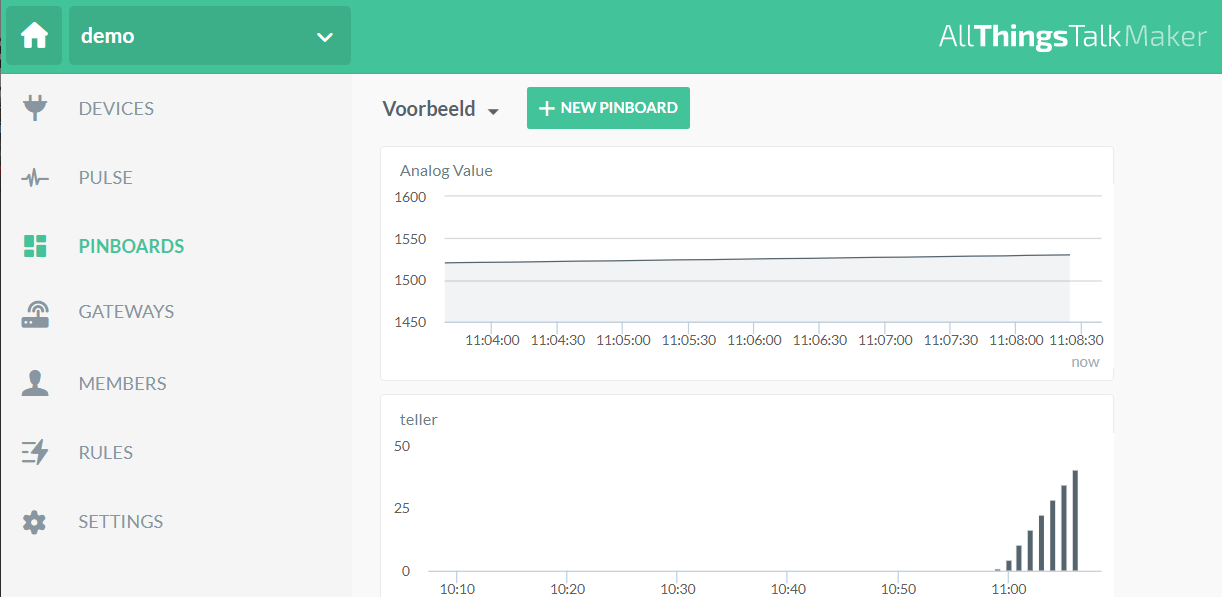
# Analoge waarde
In onderstaande voorbeeld wordt een analoge waarde afkomstig van pin A0 op de ESP8266 naar het All Things Talk platform gestuurd en vervolgens visueel weergegeven.
Bron: All Things Talk example ESP8266 (opens new window)
# Arduino code
#include <AllThingsTalk_WiFi.h>       // Load (include) the AllThingsTalk WiFi SDK - Read more about it on https://gitub.com/allthingstalk/arduino-wifi-sdk

auto wifiCreds    = WifiCredentials("Your_WiFi", "Your_WiFi_Password");         // Your WiFi Network Name and Password
auto deviceCreds  = DeviceConfig("Your_Device_ID", "maker:Your_Device_Token");  // Go to AllThingsTalk Maker > Devices > Your Device > Settings > Authentication to get your Device ID and Token
auto device       = Device(wifiCreds, deviceCreds);                             // Create "device" object
char* sensorAsset = "analog-example";                                           // Name of asset on AllThingsTalk to which you'll receive the value (automatically created below)

const long    period        = 1000;   // Change this to change how many milliseconds you want between analog port readings
int           analogValue   = 0;      // Variable that will store the value of the analog port
unsigned long startMillis;            // Used to keep track of send intervals
unsigned long currentMillis;          // Used to keep track of send intervals

void setup() {                        // This function is only called once, when the device boots
  Serial.begin(115200);               // Starts the Serial port for debugging (at baud rate 115200)
  device.debugPort(Serial);           // Enable debug output from AllThingsTalk SDK.
  device.wifiSignalReporting(true);   // Enable AllThingsTalk WiFi SDK's feature that sends NodeMCU's WiFi Signal Strength to your AllThingsTalk Maker
  device.createAsset(sensorAsset, "Analog Value", "sensor", "integer"); // Create asset on AllThingsTalk to send analog value to
  device.init();                      // Initialize WiFi and AllThingsTalk
  startMillis = millis();             // Saves the initial millis value at boot to startMillis variable
}

void analogCheck() {                               // This is the function that checks the value of analog port
  currentMillis = millis();                        // Saves the value of "millis()" at the time of execution of this line
  if (currentMillis - startMillis >= period) {     // If current time minus the last saved 'startMillis' time is bigger than the period defined above, it'll run the code below
    analogValue = analogRead(A0);                  // Reads the analog port A0 of ESP8266 (NodeMCU) and saves it to "analogButton" variable
    Serial.print("Current Analog Value: ");        // Prints to Serial port
    Serial.println(analogValue);                   // Prints to Serial port
    device.send(sensorAsset, analogValue);         // Sends the data to AllThingsTalk. Data is sent to "sensorAsset"
    startMillis = currentMillis;                   // Resets the startMillis by assigning it the value of currentMillis
  }
}

void loop() {        // Main code that'll be run in loop all the time
  device.loop();     // Keep AllThingsTalk and WiFi connection alive
  analogCheck();     // Runs our "analogCheck" function, which checks the value of analog port and publishes it
}
1
2
3
4
5
6
7
8
9
10
11
12
13
14
15
16
17
18
19
20
21
22
23
24
25
26
27
28
29
30
31
32
33
34
35
36
2
3
4
5
6
7
8
9
10
11
12
13
14
15
16
17
18
19
20
21
22
23
24
25
26
27
28
29
30
31
32
33
34
35
36
Pas volgende delen aan:
- Your_WiFi naar de SSID van je wifi netwerk
- Your_WiFi_Password naar het paswoord van je wifi netwerk
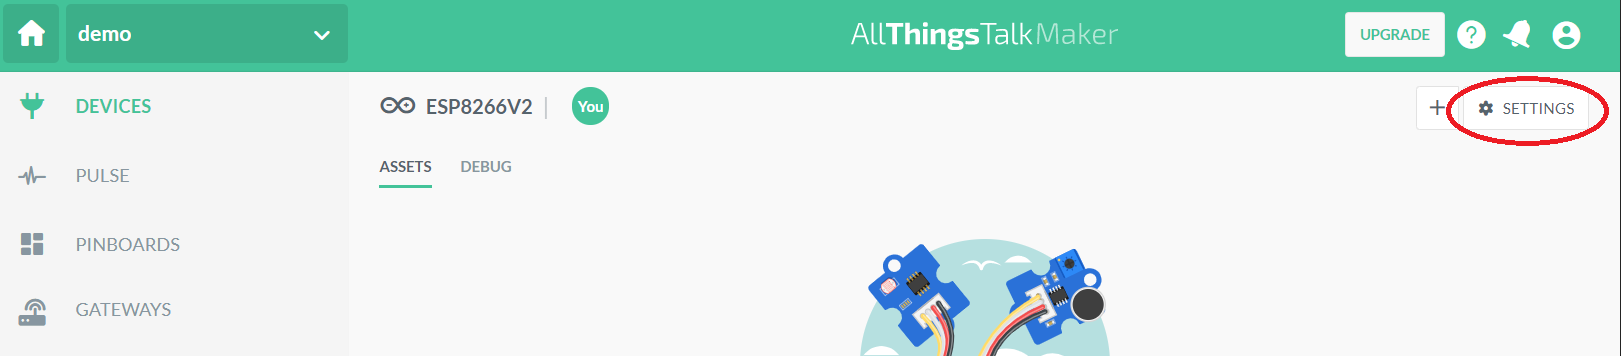
- Your_Device_ID. Het Device ID is te vinden onder "Settings" - "Authentication". Het device ID kan gecopyeerd worden in de arduino code.
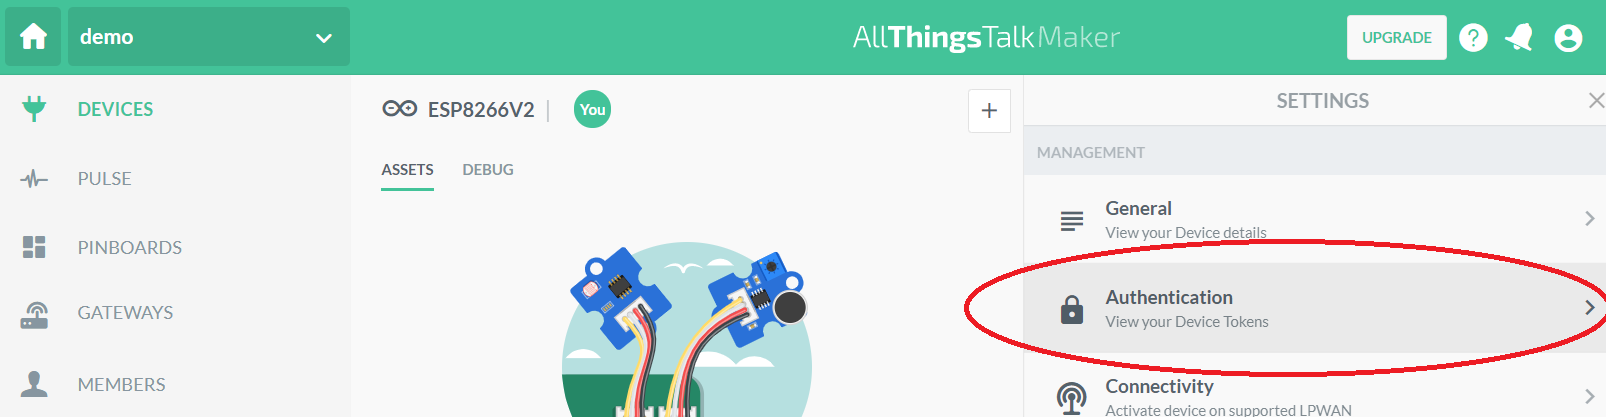
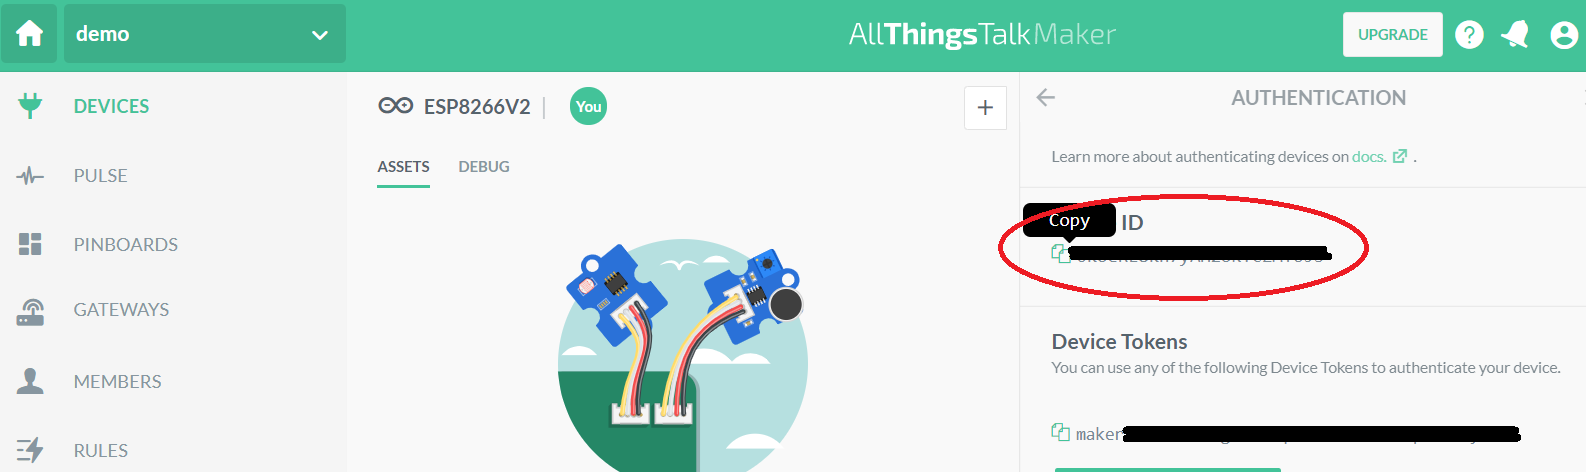
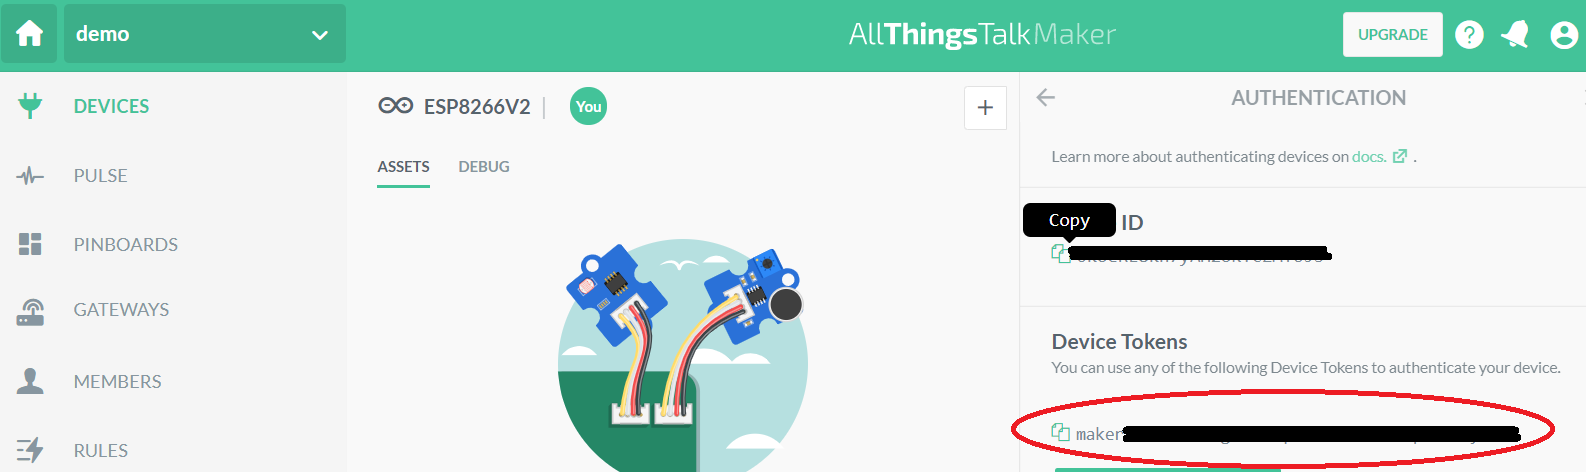
- Your_Device_Token naar het device token dat eveneens te vinden is onder Autentication.
De data afkomstig van ieder device kan weergeven worden.

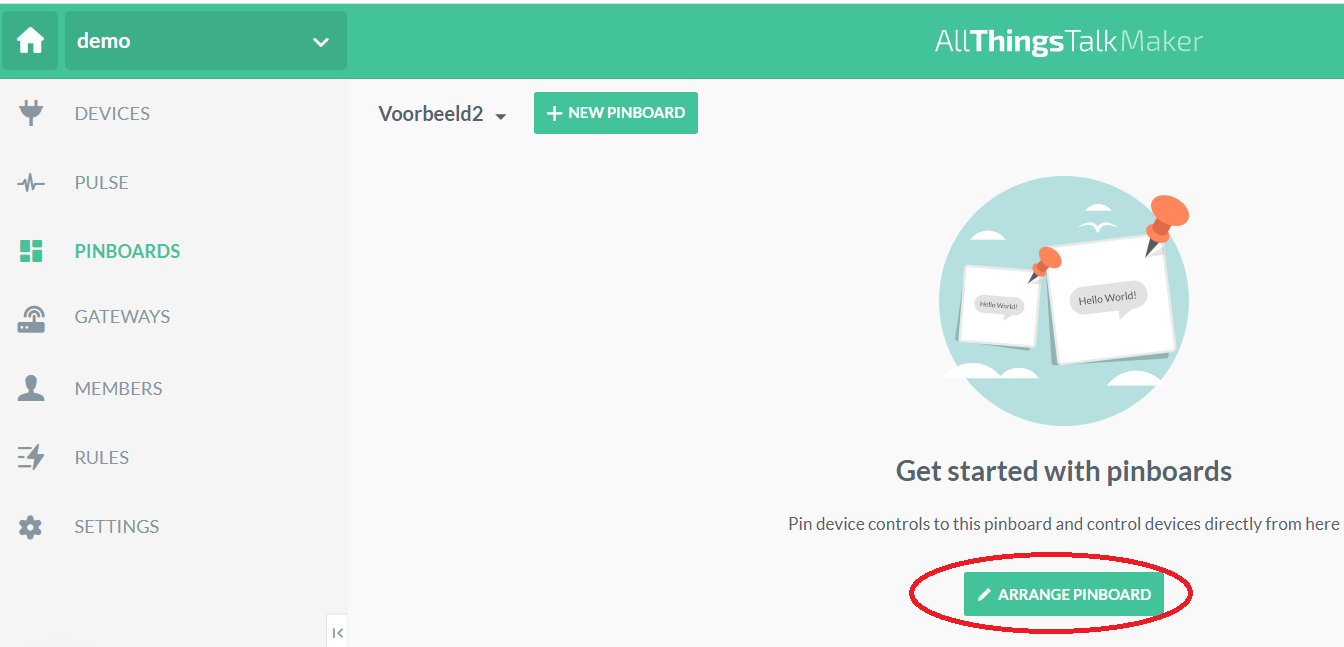
# Visueel weergeven info
Via pinboards kan info in verschillende vormen en afkomstig van verschillende devices weergegeven worden.
Kies PINBOARDS en vervolgens +NEW PINBOARD.
Klik op ARRANGE PINBOARD
Kies New pin.
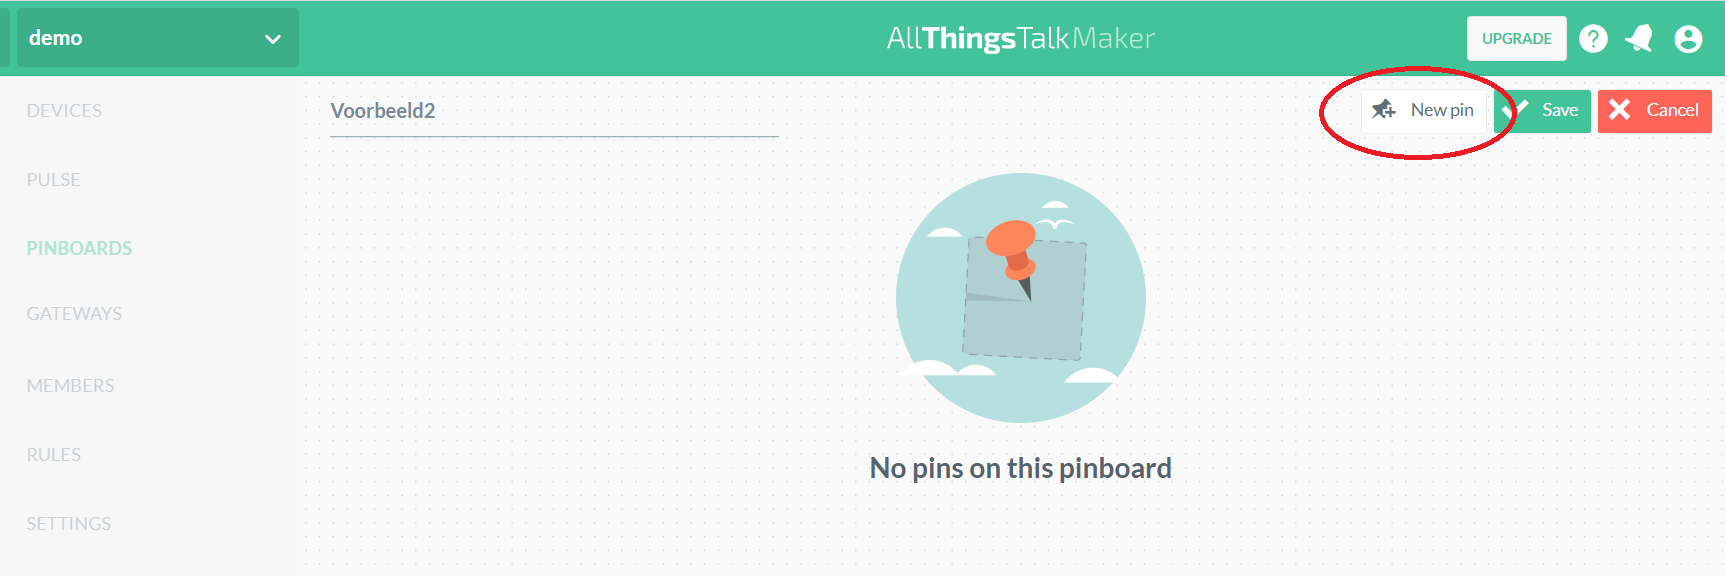
Stel de pin in.
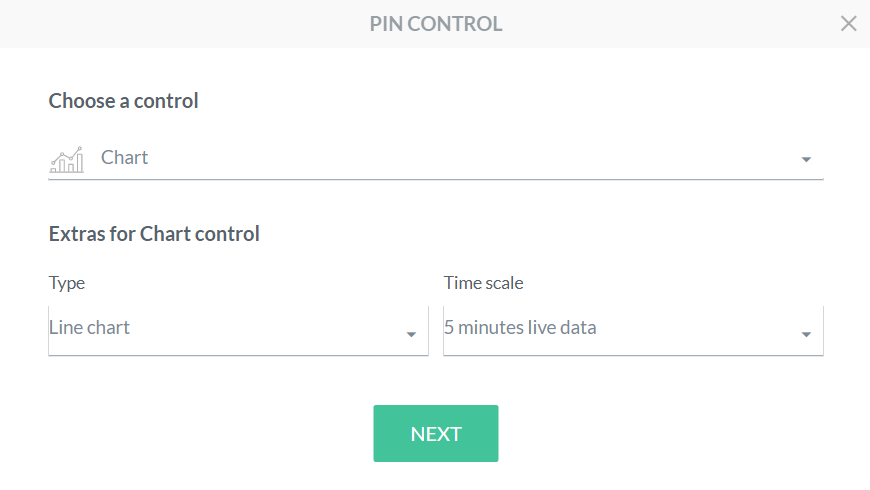
Kies het device en de asset
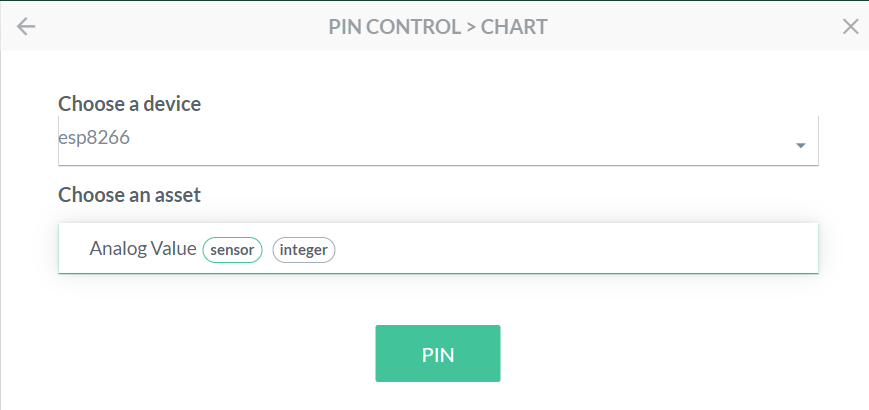
Bewaar de pin
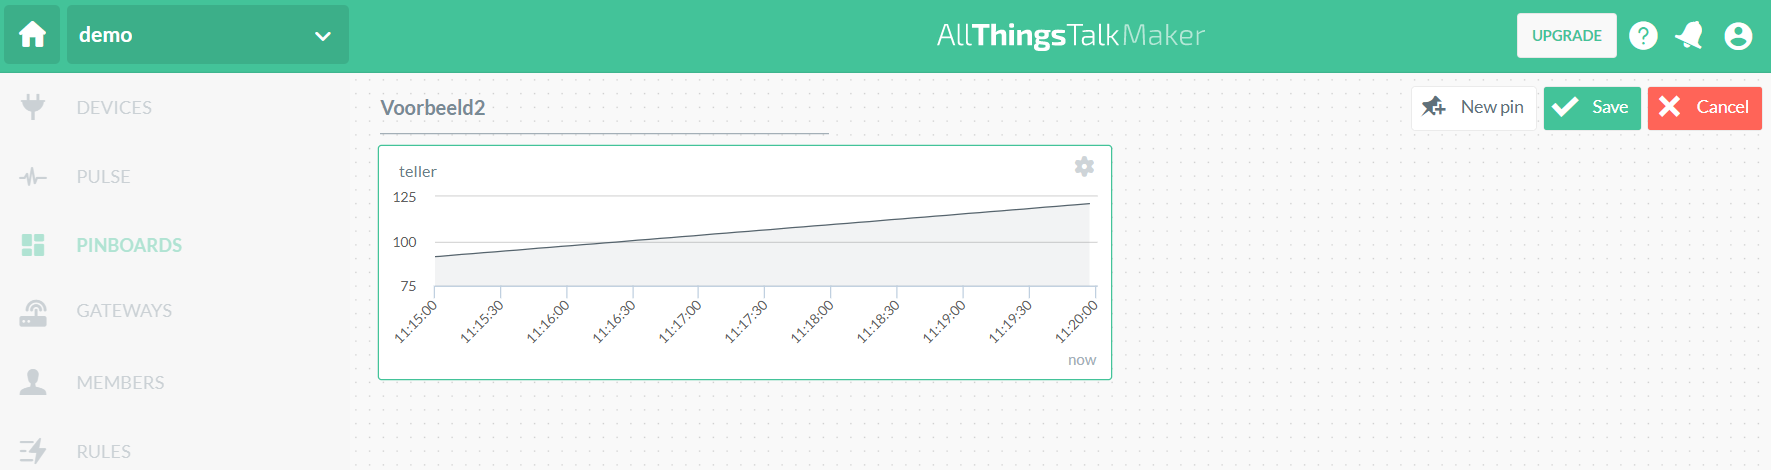
Voeg eventueel extra pins toe.
Via SHARE is het mogelijk de PIN beschikbaar te stellen.
# Opdrachten
- Test bovenstaande voorbeeld.
- Geef de temperatuur afkomstig van de Dallas DS18B20 temperatuursensor weer. De temperatuur willen we weergeven met 2 cijfers na de komma. Pas daarom in de setup van de arduino code het type variabele aan.
device.createAsset(sensorAsset, "Analog Value", "sensor", "integer"); // Create asset on AllThingsTalk to send analog value to
1
2
2
naar:
device.createAsset(sensorAsset, "Analog Value", "sensor", "number"); // Create asset on AllThingsTalk to send analog value to
1
2
2
Voorzie eveneens logische namen voor de variabelen.
- Geef de temperatuur en luchtvochtigheid weer afkomstig van een DHT11 of DHT22 weer. Creëer hiervoor 2 assets in de setup van de arduino code.
device.createAsset(temperatureAsset, "temperature", "sensor", "number"); // Create asset on AllThingsTalk to send the temperature
  device.createAsset(humidityAsset, "humidity", "sensor", "number"); // Create asset on AllThingsTalk to send the humidity
1
2
2